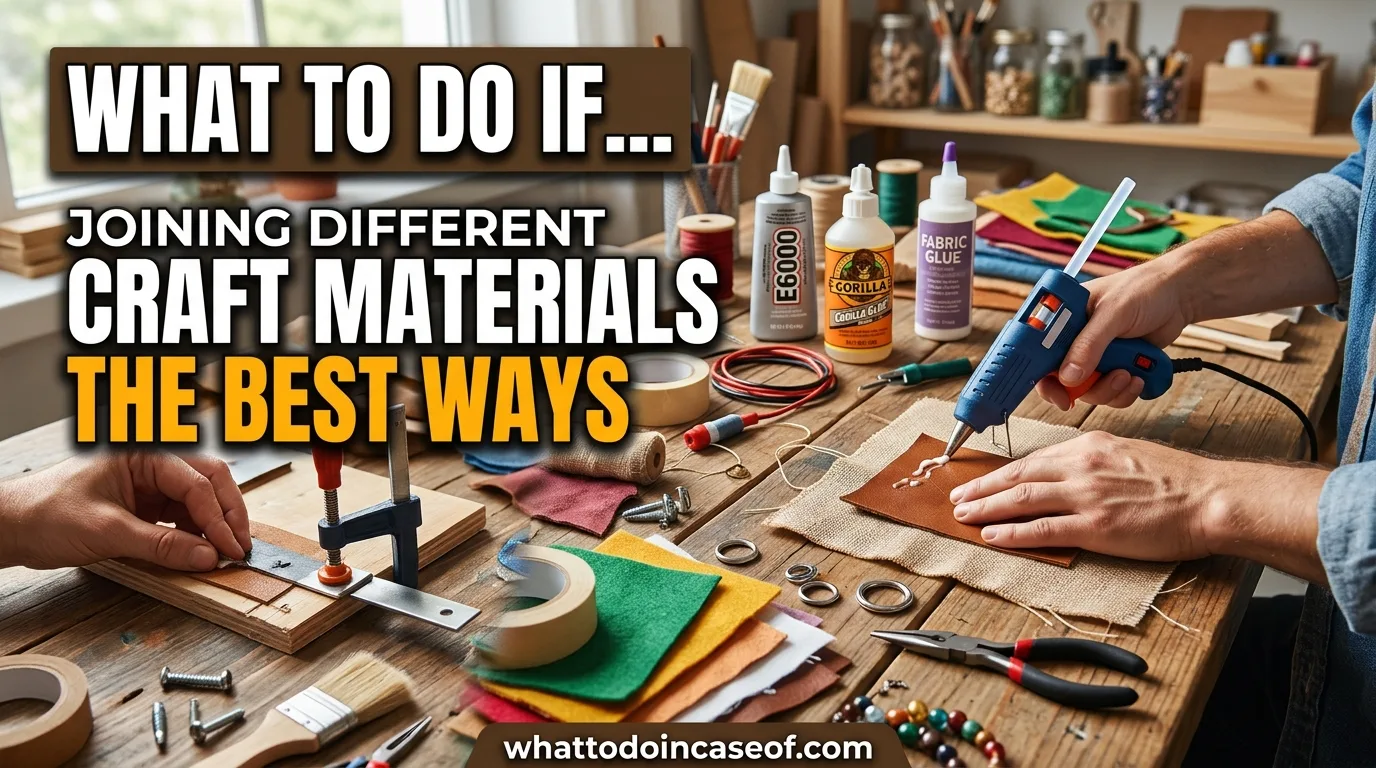
The brass hinge popped off my walnut box at the worst possible moment: two days before I was supposed to hand it to my sister. I had screwed it straight into end grain, which is basically asking a piece of wood to split. It did. I stood in the garage at eleven at night, holding a splintered lid and a tube of wood glue that was never going to fix this, and realized the real problem wasn't the hinge. It was that I'd spent weeks thinking about how to cut and finish the wood, and about ten minutes thinking about how to attach anything to it.
That box taught me more about joining materials than the three years of casual making before it. Since then I've glued leather to wood, riveted copper to oak, and learned (twice) that hot glue and cold evenings don't mix. Here's what I actually do now when two different materials need to become one object.
Why I keep running into this
Most beginner projects use one material. You build a pine shelf, you sew a cotton tote, you pour a resin coaster. Then you get ambitious and suddenly you want a leather strap on a wooden handle, or a felt lining inside a metal tin. That's when the joinery stops being obvious. Wood glue only works on wood. Fabric glue only works on fabric. The moment you cross materials, you're picking a method from scratch, and the wrong pick fails quietly at first and loudly later.
I got tired of guessing, so I started writing down what worked. A lot of that note-taking fed into the practical guides and articles on this site, which is roughly where my brain lives now when a project gets fiddly.
The hinge that broke, and what I learned about mechanical joins
The box fix was simple in the end. I drilled out the split, glued in a small hardwood plug, and re-screwed the hinge into solid wood instead of end grain. The lesson stuck: when one material can't take a fastener, add a piece that can. I call it a "sacrificial block" in my head, and I now keep a jar of small oak offcuts just for this.
Mechanical joins, meaning screws, rivets, bolts and pins, are the most forgiving option across materials because they don't rely on chemistry. A screw through leather into wood works. A copper rivet through canvas and a leather patch works. The trade-off is that mechanical joins need thickness and a place for the hardware to bite. Thin sheet metal will tear around a rivet. Soft pine will strip if you drive a screw without a pilot hole.
For the box, the pilot hole was the whole difference. A hole about 80 percent of the screw's shaft diameter, drilled slightly deeper than the screw, keeps the wood from splitting. It's a two-minute step I used to skip. I don't anymore.
Glue is not one thing (my expensive mistake)
I once tried to glue a leather strip to a plywood panel with wood glue. It held for about a day, then peeled off in one clean, humiliating piece. Wood glue needs porous fibers to lock into; leather's finished face has neither.
The fix was contact cement, which bonds almost anything to almost anything if both surfaces are clean and you follow the wait time. That wait time is the part people skip. Most contact cements want 10-20 minutes of open time before you press the pieces together, and they grab instantly when you do, so you get one shot. I measure twice now.
A rough map of what I reach for:
- Wood to wood: yellow wood glue, clamped for at least an hour, full strength after 24.
- Leather, fabric, foam to most things: contact cement or a dedicated craft adhesive.
- Metal to wood or stone: epoxy, which fills small gaps and tolerates imperfect surfaces.
- Glass or glazed ceramic: a clear epoxy or a UV-curing resin.
Epoxy is the closest thing to a universal answer, but it's messy and it's expensive compared to glue. Expect around $10-20 for a small two-part syringe, more for a big tube. Two-part means you mix it, and mixing means a working time of maybe 5-15 minutes depending on the formula. I've ruined a batch by stirring too slowly and watching it turn to gel before I'd spread it.
If you're ever unsure which adhesive fits a specific pairing, the interactive decision trees walk you through it faster than my trial-and-error ever did.
The rivet afternoon (and the copper that tore)
I got a small rivet set for a canvas-and-leather tool roll, and the first few rivets looked great. Then I tried the same rivets on a thin copper sheet for a decorative panel. The copper was too thin. Under the rivet's pressure it stretched and tore in a neat little ring around the head. I hadn't backed it with anything.
The fix was a small washer on the back side to spread the load, and a lighter hammer tap. Same principle as the wood plug: give the fastener something solid to press against. I now keep a bag of tiny brass washers near the rivet tool, and I check material thickness before I commit. If the metal flexes when I press it with a thumb, it's probably too thin for a rivet without backing.
Rivets are also wonderfully permanent, which is both the selling point and the trap. There's no unscrewing a rivet. Drill it out or live with it.
Sewing across a boundary
For fabric-to-fabric joins I'm comfortable. The interesting problem is fabric to something rigid, like a wooden handle or a leather panel. My approach is to make a hole first, then sew through it. An awl punched through leather, or a small drilled hole in wood, lets thread pass without the material fighting back. Then a saddle stitch, two needles working from both sides, holds far better than a single running stitch.
The catch is that thread abrades on hard edges. I sand and round any hole in wood or metal before threading through it, or line it with a scrap of leather. It sounds fussy; it saves the project from fraying apart in a year.
Timing matters here too. I do all the drilling and sanding before I start sewing, because once thread is in, the piece is awkward to clamp to a bench. That sounds obvious. I learned it the hard way on a lamp base with a fabric shade cord.
Honest pros and cons
Mechanical joins are strong, removable, and forgiving of imperfect surfaces, but they need thickness, backing, and a drill. Glues and epoxies spread the load evenly and leave clean faces, but they're messy, they need clamping or careful alignment, and once cured they can be a pain to undo. The right answer is usually a mix: a glued joint for surface contact plus a screw or rivet for insurance.
What it actually cost
| Item | Rough cost |
|---|---|
| Yellow wood glue (small bottle) | $4-8 |
| Contact cement (small can) | $8-15 |
| Two-part epoxy (syringe) | $10-20 |
| Small rivet set + rivets | $15-30 |
| Awl | $8-15 |
| Hardwood offcuts (or free from scraps) | $0-10 |
| The box I ruined | one evening and some pride |
Most of these are one-time buys that last years. The recurring cost is small hardware and the occasional tube of adhesive that dries out before I finish it.
What I would do differently
I'd plan the join before I cut, not after. The material pairing decides the fastener, and the fastener decides the thickness and the holes, which all come before assembly.
I'd stop treating glue as universal. Every failed glue joint I've had was a mismatch I could have caught in five minutes of reading.
I'd keep a small stash of washers, plugs and offcuts. Half my fixes were really just "add a backing piece."
I'd test on scrap first. A two-inch test piece of the actual materials tells you more than any label.
I'd give contact cement the open time it asks for, no shortcuts.
Quick practical tips
- Always drill a pilot hole in wood before driving a screw, especially near an edge.
- Clean and lightly roughen smooth surfaces before gluing; most failures start with a shiny, dusty face.
- Clamp for the full cure time, not the "feels solid" time. Check the label.
- Round or line any hard edge that thread or cord will rub against.
- Keep a ready-to-use checklist of your go-to pairings so you're not re-deciding every project.
FAQ
Can I glue wood to metal without screws? Yes, with epoxy, as long as both surfaces are clean and you can clamp them while it cures. It won't match a mechanical fastener for load-bearing work.
Do I need special tools for rivets? A basic rivet set and a hammer cover most small craft work. Expect around $15-30 for a starter set.
What's the safest way to join dissimilar materials for something that holds weight? Combine methods: glue for surface contact plus a screw, bolt or rivet for load. If the object has to hold real weight, get a professional's eye on it.
Why did my contact cement fail? Usually too little open time, a dirty surface, or pressing the pieces together while the glue was still wet.
If you want to work through the numbers on a bigger project, the free calculators are handy for estimating material quantities before you buy.
I still have the box. The hinge holds, the plug is visible if you look for it, and my sister never noticed. That's the thing about a good join: when it works, nobody asks how you did it.